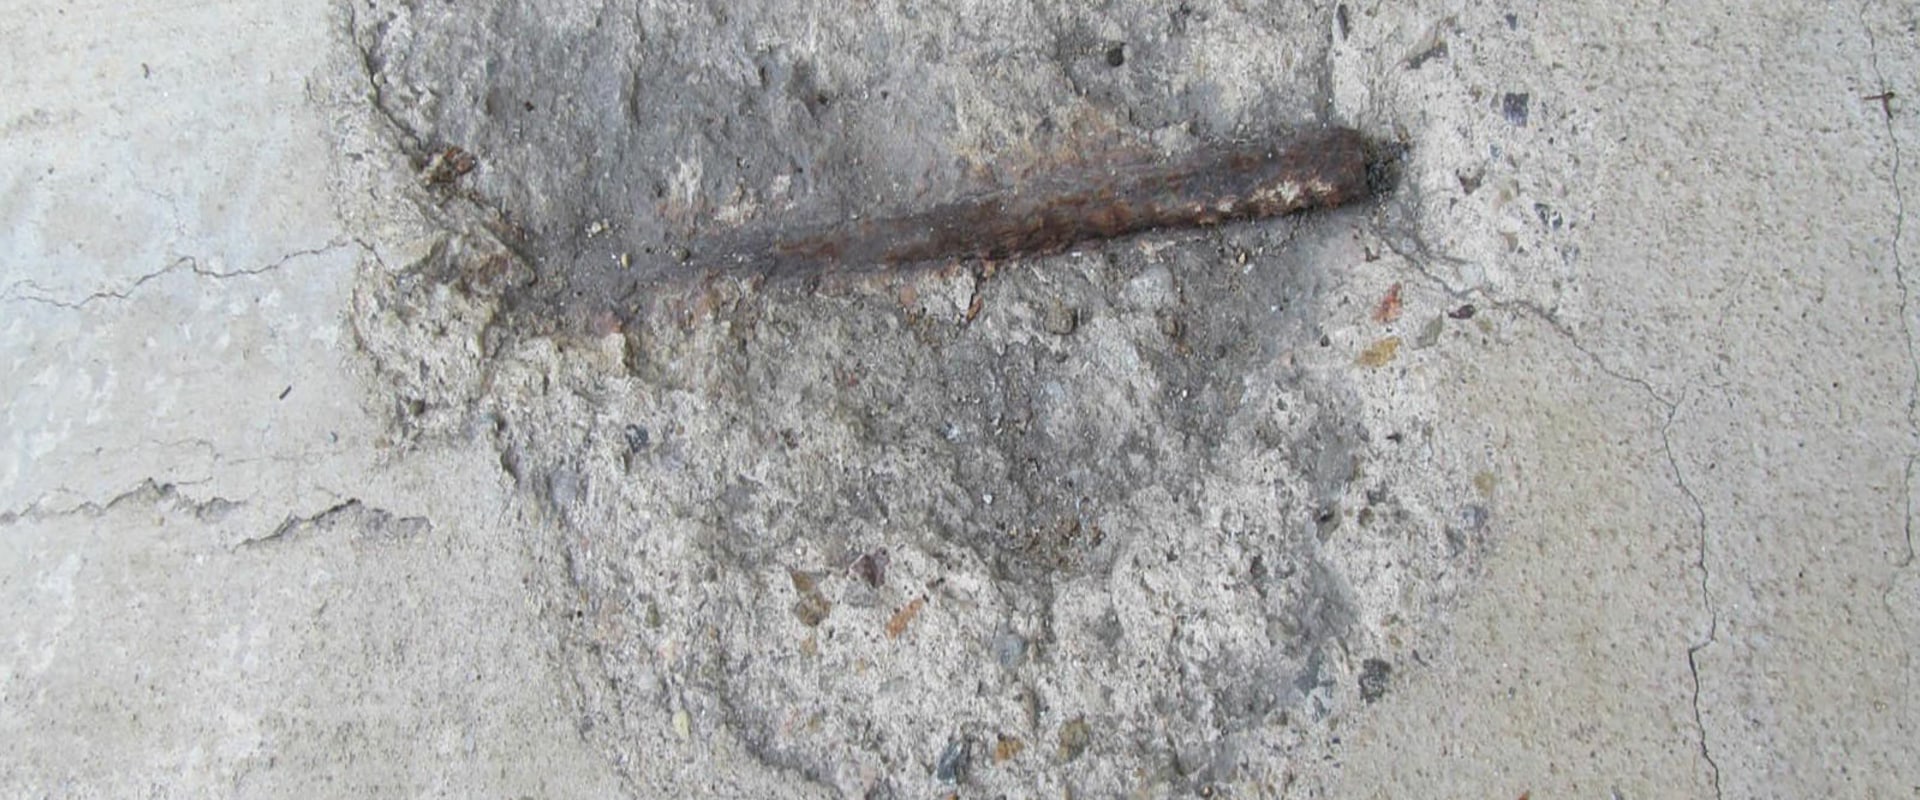
Concrete is a durable and widely used construction material, known for its strength and longevity. However, even the most robust concrete structures can develop problems over time, particularly when rebar—the reinforcing steel embedded within the concrete—becomes exposed. Exposed rebar is a serious issue that can compromise the structural integrity of a building, leading to further damage and costly repairs if not addressed promptly. Understanding how to repair concrete with exposed rebar is crucial for maintaining the safety and durability of any concrete structure. This guide will walk through the necessary steps to properly repair exposed rebar and restore the concrete to its original strength.
Identifying the Cause of Exposed Rebar
Before beginning any repair work, it’s essential to understand why the rebar has become exposed. Common causes include corrosion, which occurs when moisture penetrates the concrete and rusts the steel, and improper concrete cover during the initial construction. Over time, the rust expands, causing the concrete to crack and eventually exposing the rebar. Other causes may include mechanical damage or poor construction practices. Identifying the underlying cause is critical because it will determine the most appropriate repair method and help prevent future occurrences.
Preparing the Area for Repair
The first step in repairing concrete with exposed rebar is to prepare the area. This involves removing any loose or damaged concrete around the exposed rebar. Using a chisel and hammer, or in some cases, a jackhammer, carefully chip away the damaged concrete to create a clean, solid surface. It’s important to remove all loose debris and ensure that the remaining concrete is stable. Additionally, the rebar itself needs to be cleaned to remove any rust. This can be done using a wire brush or sandblasting equipment. If the rebar is severely corroded, it may need to be replaced or reinforced before proceeding with the repair.
Applying a Protective Coating to the Rebar
Once the area is clean, the next step is to apply a protective coating to the exposed rebar. This coating is typically a corrosion-inhibiting primer designed to protect the steel from further rusting. The primer creates a barrier between the rebar and the surrounding environment, preventing moisture and oxygen from reaching the steel and causing additional corrosion. It’s crucial to ensure that the entire exposed section of the rebar is covered with the protective coating. In some cases, it may be necessary to apply multiple coats to achieve full protection.
Repairing the Concrete
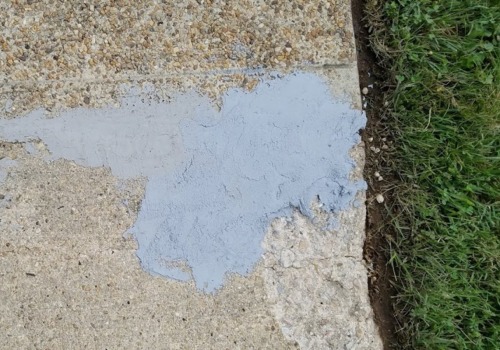
With the rebar protected, it’s time to repair the concrete itself. This involves filling the void created by the removal of the damaged concrete with a suitable repair material. The choice of material is important; it should be a high-quality, non-shrink concrete repair mix that bonds well with the existing concrete and is designed to withstand the same conditions. Mix the repair material according to the manufacturer’s instructions and apply it to the prepared area, ensuring that it fully encapsulates the rebar and fills the voids. Use a trowel to smooth the surface and blend the new concrete with the surrounding area. Proper curing is essential to achieve maximum strength, so follow the curing guidelines provided by the repair material’s manufacturer.
Finishing and Preventing Future Damage
After the repair material has cured, the final step is to finish the surface. This may involve additional smoothing or the application of a surface sealant to protect the repaired area from future damage. A good quality concrete sealer can help prevent moisture infiltration, which is a common cause of rebar corrosion. In addition to sealing the surface, it’s important to address any underlying issues that may have contributed to the rebar exposure in the first place. This could involve improving drainage around the structure, addressing leaks, or reinforcing areas prone to mechanical damage.
Conclusion: Ensuring Long-Term Durability
Repairing concrete with exposed rebar is a task that requires careful attention to detail and a thorough understanding of both the materials involved and the conditions that caused the damage. By following the steps outlined—preparing the area, protecting the rebar, applying the repair material, and taking preventive measures—homeowners and professionals can effectively restore the structural integrity of the concrete and extend its lifespan. For complex repairs or situations where water infiltration has played a significant role, it may be beneficial to consult with specialists who can ensure the job is done correctly. Companies like Plumbing Services of Raleigh can provide valuable expertise, especially in cases where plumbing issues have contributed to the exposure of rebar. Ensuring that these underlying problems are addressed is key to preventing future damage and maintaining the long-term durability of the structure. With the right approach and materials, concrete repairs can be both effective and long-lasting, preserving the safety and stability of any building.


